Related
Once the growing and planting season has stop , you ’ll probably find yourself with many container and pots take up with old soil . And you may reckon your veggies , fruits , and flowers have already used up all its nutrients . However , there are a few way you’re able to reuse your old potting soil and regenerate it for ulterior utilisation .
Rejuvenating used soilis very cost - efficient , and , furthermore , environmentally favorable . In curt , you may reprocess old potting soil as long as you deal any infestation prior to use . Down below , you will learn what to do with your sure-enough potting soil , how to revive it , and the things you need to do so .
What to Do With Your Old Potting Soil
There are a few different ways you could go when it amount to dealing with your quondam potting ground .
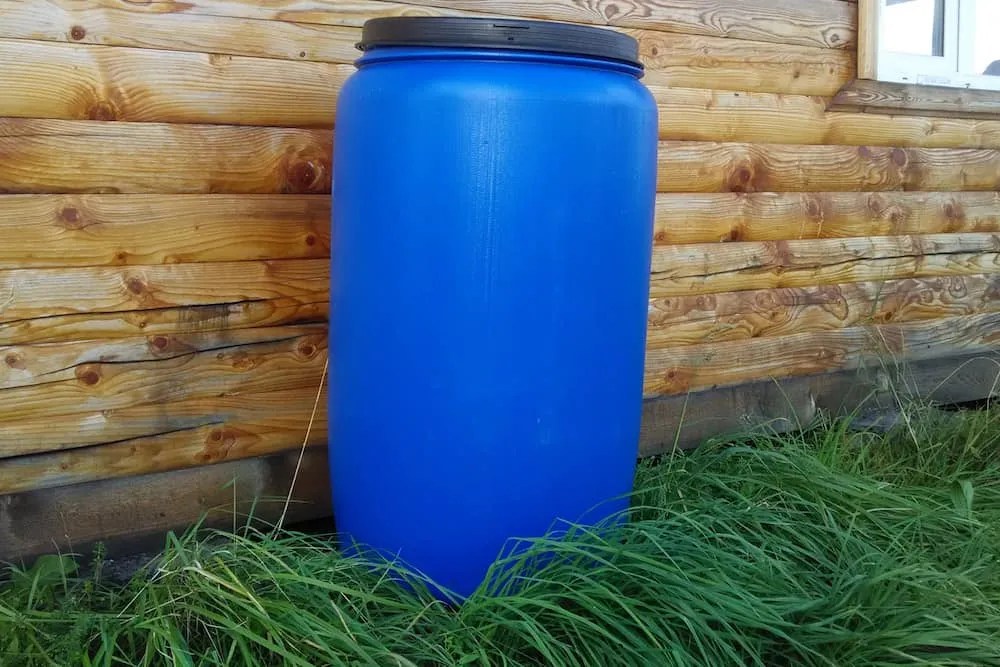
Seal It
icon credits : Thana Thanadechakul via Shutterstock
Put your soil in a sealed container and store it until next season . However , you must secure that your container is close well to keep louse out of your precious soil . Of course , you ’ll need to coalesce it with fresh component when it ’s prison term to plant again .
Yard Waste Drop-Off Program
simulacrum deferred payment : J.J. Gouin via Shutterstock
A lot of cities have a garden waste material shed - off programme during the fall . This is a magnificent way to get rid of all your former materials and stagnant plant . Moreover , all of this waste will be used to make compost .
Add to Your Compost Pile
Image credits : spierzchala via Creative Commons
Making your own compostis a fantastic thing to do , as it has manybenefits for your garden . It is prosperous and eco - friendly , and it keep open you most of the hassle of dealing with garden waste . That said , before start your compost pile , be certain to learn about what you shouldnever put in your compost bin .
Some Things to Consider Before Rejuvenating Old Potting Soil
figure of speech credits : Skyliz via Shutterstock
Before decide whether rejuvenating your old potting soil is worth it , you should remember a few things :
Step 1: Identify Previous Plants
First , figure out what case of plant you raise in the ground you be after to rejuvenate . Were they low-cal feeders or heavy feeders ? It ’s important to live how many nutrient different plants need .
Step 2: Sterilize Soil and Pots if Required
After you do that , verify that the filth did n’t undergo any significant soil yield . If your plant went through dirt ball infestation , disease , or bacterial contagion , there ’s a high chance that if you reuse the soil , the next plants will suffer the same fate . In such cases , it is probably best that you broil andsterilize the old and infested potting soilbefore using it again . what is more , in such cases , it is of the essence to sterilize your flower containers to prevent the next flowers from getting gruesome .
Step 3: Figure Out Your Topsoil
Next , make up one’s mind what you require to top off your soil . you may habituate perlite , calx , or gypsum if you want to keep your plants thriving for a long time .
Step 4: Check pH Levels
Last but not least , you will need totest your stain pH. Different plants have dissimilar needs and while most plants need pH - neutral soil , there are some that choose either acidulous or alkaline soil . The ideal container flora pH is between 6.2 and 6.6 .
Refreshing Your Old Potting Soil Step-by-step
1. Lay Out The Soil
Image credit : sacratomato_hr via Creative Commons
The first thing you will call for to do is to lay out the soil on a large piece of tarp and inspect it close for dust and mourning band . transfer the bigger debris by hand and use a hand rake for the rest . If you fear that there ’s some left , you may use a screen to remove it . When it come to root word , you should n’t worry because they will eventually break down and supply your new plants with nutrients .
2. Wash Off Excess Salts
Image quotation : amenic181 via Shutterstock
For this footprint , you will need a bucketful with kettle of fish in the bottom . You should fill it with filth and then add pee until the soil is soaked . Hang the bucketful somewhere high up and let the water supply drain out . It can take a couple of days for that to happen , but once it does , lay the remaining soil on a tarp and let it dry . Once dry , break it down well with a manus forking or rake . You should echo the process one more sentence for optimum termination . To figure out whether the grease is teetotal enough to do work with , pick some up , roll it into a ball , and , if upon flip it with your fingers , it breaks asunder , it ’s ready for stone’s throw three .
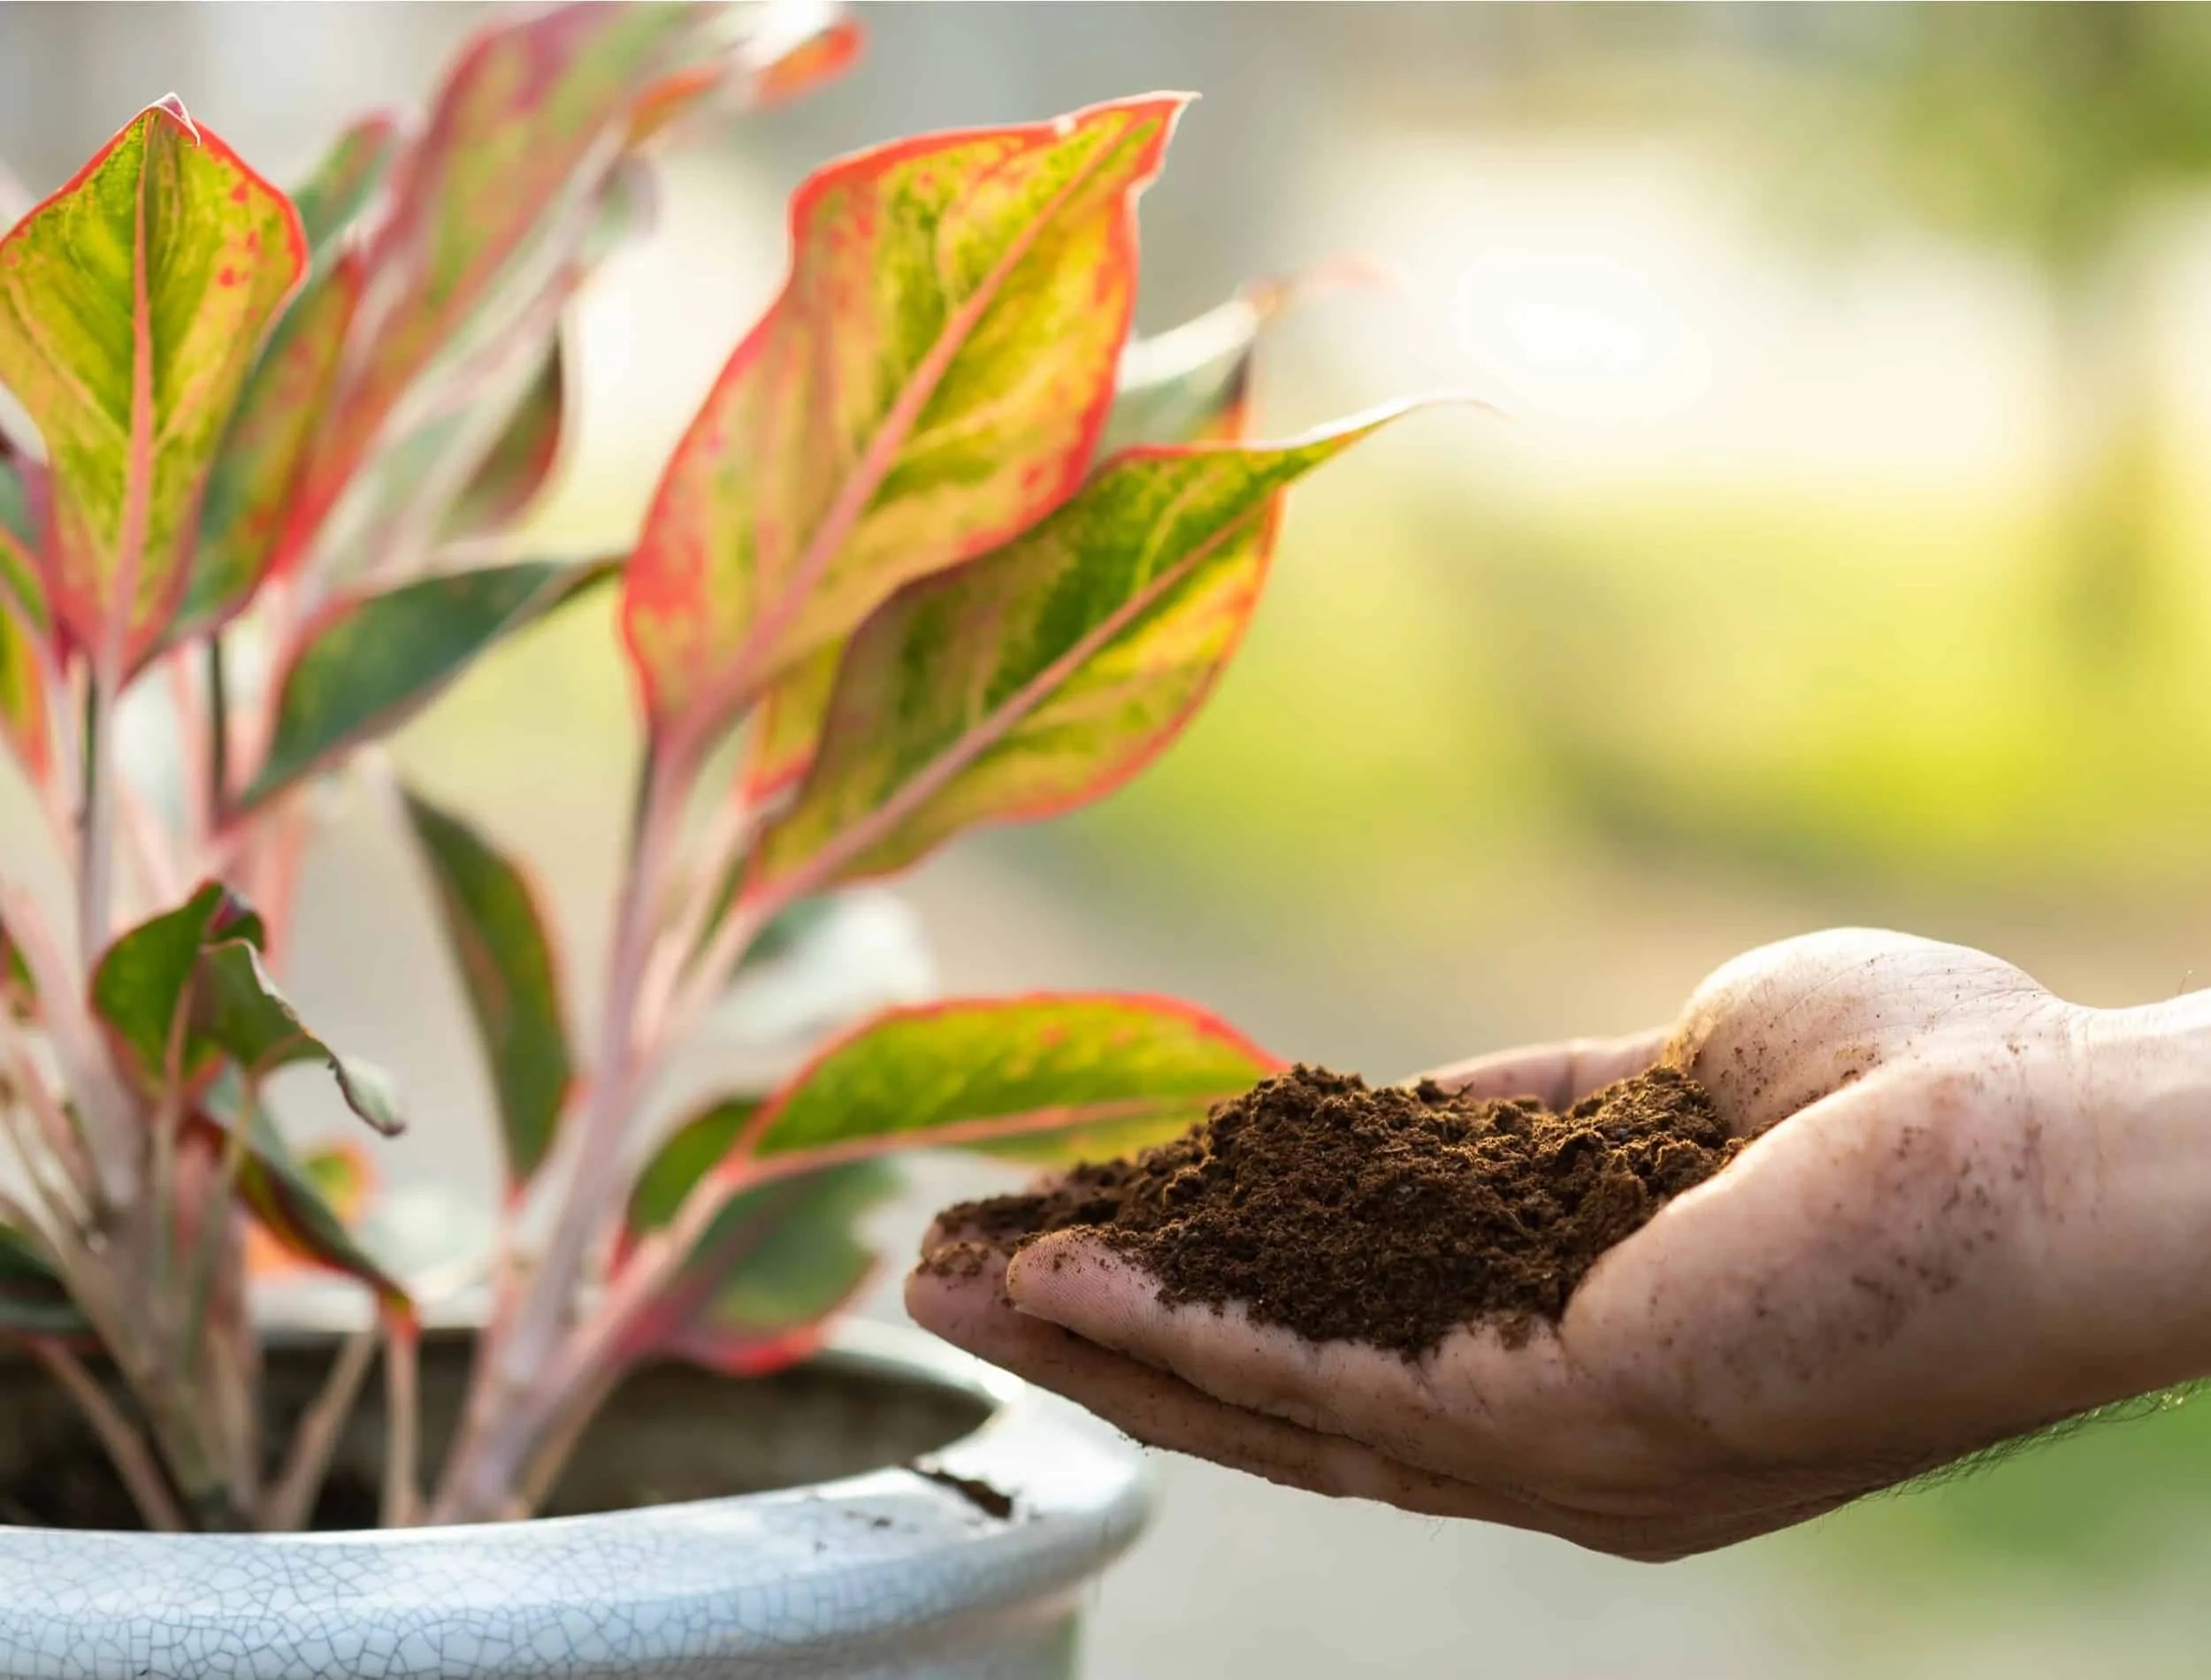
3. Make a Mix
mental image Credit : USDAgov via Creative Commons
If you ’re ready toprepare your novel potting soil , you’ll require to get a parcel of new potting soil and coalesce it with your old potting ground . check that it ’s a 50 / 50 mix . you may add coconut coir to preclude the mix from drying and perlite or vermiculite to aid drainage .
4. Test and Adjust the pH Levels of Your Soil
effigy credit entry : kram-9 via Shutterstock
For a works to flourish , the soil pH level has to be just correct . For garden soil , the sweet touch is between 6.2 and 6.6 . In purchase order to determine the current pH levels of your dirt , you should apply apH test . If it is below 6.2 , you will need to add perlite , lime , or gypsum to the mix .
5. Fertilize
mental image credits : Cem Selvi via Shutterstock
After fixing your soil ’s pH grade , you will need to add fertilizer to your mixing . You should be deliberate to not over - fertilize as this will stimulate many more issues than not append it at all . You should add a maximum of one teaspoon of plant food per gallon of dirt .
6. Cure the Rejuvenated Soil
figure credits : MrCardholder via Shutterstock
in conclusion , you will have to put your rejuvenated land in container . You should put these containers in a dark and dry distance for at least a few weeks before using the new dirt . Remember , pot soil can go badif it ’s not stored in idealistic conditions or left unused for a prospicient time .
Reduce. Reuse, Recycle!
While old potting soil may seem unuseable and you may be intend of throwing it off , it can actually be revitalized easy . This is not only quite cost - efficient ( typically it cuts about 50 % of your potting mix expenditure ) , but it is also very eco - friendly .
However , there ’s sometimes no style to revitalize your old potting soil . If that ’s the case , either impart it to your compost hatful , alongside old flowers , or give it in at your local thou waste put down - off location . This way , you’re able to be sure that none of it will go to waste .
Hopefully , this article helped you come up with a solvent for all your old potting grime . lease us know in the commentary section down below ! Do n’t forget to apportion this clause with your home and friends .

Happy Gardening !


Pile of natural fertilizer bags Stacks In Warehouse, selective focus

Leaf, yard bag, and grass clippings directional sign with arrow at city yard waste disposal, dump site